Residence Registration: Annexes, Communes, and the eID Card
Arriving in Belgium as an expat often feels like stepping into a beautifully organized, yet bewildering, administrative labyrinth. From the moment your plane touches down, the clock starts ticking on what feels like a never-ending series of registrations, forms, and appointments. I've been there, clutching my passport, wondering if I had enough copies of everything, and silently chanting "Annex 15, Annex 8, eID" like a mantra. This comprehensive guide is here to demystify the essential process of residence registration in Belgium, breaking down the roles of the commune, the different annexes you’ll encounter, and the all-important eID card. We'll navigate this bureaucratic journey together, so you can settle in with a little less stress.
The First Crucial Step: Registering at Your Commune
One of the very first, and arguably most important, tasks upon arriving in Belgium is to register your presence with the local authorities. This isn't just a suggestion; it's a legal obligation that kickstarts your official life in the country. The commune (known as gemeente in Dutch or maison communale in French) is your gateway to everything from healthcare to banking, and getting this right from the outset will save you countless headaches down the line.
The 8-Day Rule: Don't Miss the Deadline
The infamous "8-day rule" is etched into every expat's initial experience. Officially, non-EU citizens who arrive in Belgium with a long-stay D visa are legally required to present themselves at the commune of their place of residence within eight working days of their arrival. For EU/EEA citizens, the requirement is similar, though often with slightly more leeway, but it’s still best practice to register promptly. Missing this deadline isn't just a minor oversight; it can lead to frustrating delays in obtaining your residence permit, potential fines, or even complications with your immigration status. Imagine you've just found your perfect apartment in Brussels, unpacked your bags, and are reveling in your new surroundings. You think you have time to relax before tackling the paperwork. But if those eight working days fly by and you haven't made an appearance at the commune, you could be setting yourself up for unnecessary stress. The authorities take this rule seriously, as it’s how they track who is residing within their jurisdiction. It's the official timestamp of your integration into Belgian society, so mark that calendar! You can read more about this initial step in our detailed guide on Registering at the Commune: The 8-Day Rule After Arrival.
Booking Your First Appointment: A Digital Dance
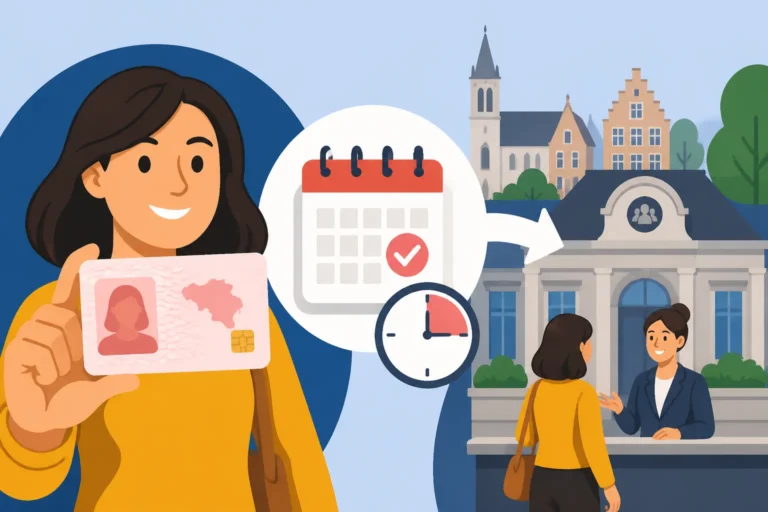
Finding your commune and booking that initial appointment can sometimes feel like a treasure hunt, especially if you're battling language barriers right off the bat. Most communes now have online appointment systems, which can be found on their official websites (look for Stadhuis or Maison Communale followed by your city/town name). However, the specific department you need is often called the dienst Vreemdelingenzaken (foreigner's service) or service Étrangers.
The process typically involves selecting a service type, choosing an available slot, and providing your basic details. While online booking offers convenience, be prepared for limited availability, especially in popular expat hubs like Brussels, Antwerp, or Ghent. Sometimes, a phone call is required, which can be a linguistic challenge if you're not yet fluent in Dutch or French. I remember my first call to the commune, slowly enunciating my name and trying to spell out my street address in broken Dutch, feeling a mix of frustration and triumph when I finally secured a spot. It's a common experience, and patience is definitely a virtue here. For a more detailed walkthrough, consider checking out our article on Booking an Appointment at the Commune Stadhuis/Maison Communale.
Essential Documents for Your Initial Registration
Once you've secured that precious appointment, the next hurdle is compiling the mountain of documents required. Belgium, like many European countries, loves its paperwork, and being over-prepared is always better than being caught off guard. Missing a single document can lead to a rescheduled appointment and further delays, so double-check everything!
The Bare Necessities: What to Bring
At your initial commune appointment, you’ll typically need to present a core set of documents. These usually include:
- Your Valid Passport: This is your primary identification, so ensure it's not close to expiry.
- Your Long-Stay D Visa: If you are a non-EU citizen, this visa, stamped in your passport, is crucial proof of your legal entry and purpose for staying.
- Proof of Address: This is often your signed rental contract (lease agreement). If you're staying temporarily with friends or family, you might need a formal declaration from them, along with a copy of their ID and proof of their own residence.
- Marriage Certificate / Birth Certificate(s): If you are registering with your spouse or children, their original certificates (and possibly yours) will be required. These often need to be legalized (apostilled) and translated into one of Belgium’s official languages (Dutch, French, or German) by a sworn translator. This is where services like RushTranslate can be incredibly helpful, ensuring your documents are accurately and officially translated for Belgian authorities.
- Passport-Sized Photos: Make sure these adhere to Belgian or Schengen visa photo standards (usually a light background, neutral expression, no glasses). It’s always good to bring a few extra.
Always bring both originals and several photocopies of every single document. Some communes will make copies for you, but many expect you to arrive fully prepared. Trust me, you don't want to be scrambling for a photocopy shop while your appointment time is ticking away. Our guide What Documents to Bring for Your First Commune Registration offers a comprehensive checklist to help you get organized.
Proof of Solvency and Health Insurance
Beyond basic identification and civil status documents, the Belgian authorities need assurance that you can financially support yourself and, if applicable, your dependents, and that you have adequate healthcare coverage.
- Proof of Sufficient Resources: This typically means demonstrating you have a stable income. For employees, this usually involves your employment contract (detailing your salary) and recent payslips. If you're a student, you'll need proof of scholarship or a blocked bank account. If you're a freelancer, showing recent invoices or bank statements might be necessary. The exact amount required can vary, but the general principle is that you shouldn't become a burden on the Belgian social welfare system.
- Health Insurance: This is non-negotiable in Belgium. Upon registration, you are expected to either already have or immediately enroll in one of Belgium's public health insurance funds (mutualités or ziekenfondsen). These provide compulsory coverage. While you are getting your public health insurance sorted, or if you prefer additional coverage, private health insurance providers like Cigna Global offer comprehensive plans that can fill gaps, cover repatriation, or provide access to a wider network, especially useful during your initial settling period or for specific needs. It’s always wise to have some form of robust health coverage from day one. To understand the compulsory system better, refer to our article on Compulsory Coverage Basics: Who Must Enroll in Mutuelle/Ziekenfonds.
The Police Check: Your Address Verification
After your initial commune appointment, you might feel a sense of relief, but the process isn't over yet! A crucial step that often catches newcomers by surprise is the police check, officially known as the contrôle de quartier (neighborhood check). This is the Belgian administration's way of verifying that you genuinely reside at the address you've declared.
What is the Contrôle de Quartier?
The contrôle de quartier involves a local police officer (or sometimes a civilian administrative officer) visiting your declared residence. Their purpose is straightforward: to confirm your physical presence at the address. This isn't a formal interrogation; it’s more of an informal verification. They'll typically check for your name on the doorbell or mailbox, and might briefly ask you a few questions to confirm your identity and that you actually live there. For instance, they might ask how long you've been there, or if you know your neighbours. They’re not looking to catch you out, but rather to ensure the information you provided to the commune is accurate. I remember the anxiety of waiting for this visit, wondering if I had done enough to make my apartment look "lived-in" just in case. It sounds a bit like an urban legend, but it's a very real and standard part of the process in Belgium. You can find more details on this process, including what to expect if you're not home, in our article The Police Address Check: What Happens if You Are Not Home.
Preparing for the Visit and Dealing with Missed Attempts
The challenge with the police check is that it’s often unannounced. You won’t receive a specific date or time, which can be tricky if you work during the day or travel frequently. Here are some tips to prepare:
- Ensure Your Name is Visible: Make sure your name (and the names of any family members registering with you) is clearly displayed on your doorbell and mailbox. This is a primary thing the officer will look for.
- Keep Your Phone Handy: Sometimes, though not always, the officer might try to call you if they come to your door and you're not there.
- Communicate with Housemates/Landlord: If you live in a shared house or apartment, inform your housemates or landlord about the upcoming visit so they know to expect someone.
- Look for a Calling Card: If you miss the officer, they will typically leave a calling card (a feuille de passage or passagebiljet) in your mailbox. This card will usually provide instructions on how to contact them to reschedule or confirm your presence. Don't ignore this! Promptly following up is crucial to avoid further delays.
If you miss the initial visit and don't respond to their calling card, the process can stall significantly, potentially leading to your registration being denied, and you having to restart the entire process, or even worse, face complications with your residency.
Understanding Annexes: Your Temporary Proofs of Residence
While you wait for your official eID card, the Belgian administration provides you with various "annexes" (Bijlage in Dutch, Annexe in French). These are temporary paper documents that serve as proof of your ongoing registration process and, in some cases, your legal right to reside and even work in Belgium. They are essential to keep safe and present when requested, as they are your lifeline until your physical card arrives.
Annex 15: The Golden Ticket (for a while)
For non-EU citizens who have successfully completed their initial commune registration with a D visa, the Annex 15 (Annexe 15 or Bijlage 15) is likely the first significant document you'll receive. This is a temporary residence certificate, essentially confirming that your application for a residence permit is being processed. It's often referred to as your "golden ticket" because, importantly, it usually grants you the right to work in Belgium while you wait for your eID card. However, it's not a travel document. You cannot use an Annex 15 to travel outside of Belgium and re-enter the Schengen area without potential issues. If you need to travel during this waiting period, you typically require a separate return visa or must wait for your actual eID. The validity period of an Annex 15 varies, but it's crucial to be aware of its expiry date and what to do if your eID hasn't arrived by then. Don't let it expire! Our guide What is an Annex 15 Annexe 15/Bijlage 15 and Can You Work With It delves deeper into its specific uses and limitations.
Other Key Annexes: 8, 49, and More
Beyond the Annex 15, several other annexes play different roles depending on your nationality and situation:
- Annex 8 (Annexe 8 or Bijlage 8): This is the equivalent registration certificate for EU/EEA citizens. If you are an EU national, after declaring your presence and completing the police check, you will generally receive an Annex 8, which confirms your registration in the foreign nationals' register. This document is generally valid for five years and confirms your right of residence.
- Annex 49 (Annexe 49 or Bijlage 49): This is a simple declaration of arrival for certain short stays. For example, if you are an EU citizen staying for less than three months and not exercising economic activity, you might simply file an Annex 49 at the commune.
- Other Annexes: There are various other annexes linked to different stages of the immigration process, such as appeals, specific visa types, or changes in status. Each annex serves a specific legal purpose and has a defined validity period. It’s absolutely critical to keep all annexes safe, understand their implications, and never let them expire without taking the necessary steps with the commune. These paper slips are official documents and your provisional proof of legal status. For a more comprehensive overview of these crucial documents, check out Understanding Immigration Annexes: Annex 8, Annex 15, and Annex 49.
Here's a quick summary table of common annexes:
| Annex Number | Type of Applicant | Purpose / Description | Typical Validity | Key Use / Limitation |
|---|---|---|---|---|
| Annex 15 | Non-EU Citizens | Temporary residence certificate (application in process) | Varies (e.g., 4 months) | Allows work; NOT for Schengen travel |
| Annex 8 | EU/EEA Citizens | Registration certificate (right of residence) | 5 years | Confirms legal residence; issued after police check |
| Annex 49 | EU/EEA Citizens | Declaration of arrival (short stay < 3 months) | Varies (short-term) | Simple declaration; generally no work rights |
| Annex 3bis | Invited Guest | "Prise en Charge" – proof of sponsorship for short-stay visa | Specific to visa | Guarantees financial support for a visitor |
The Belgian eID Card: Your Digital Identity
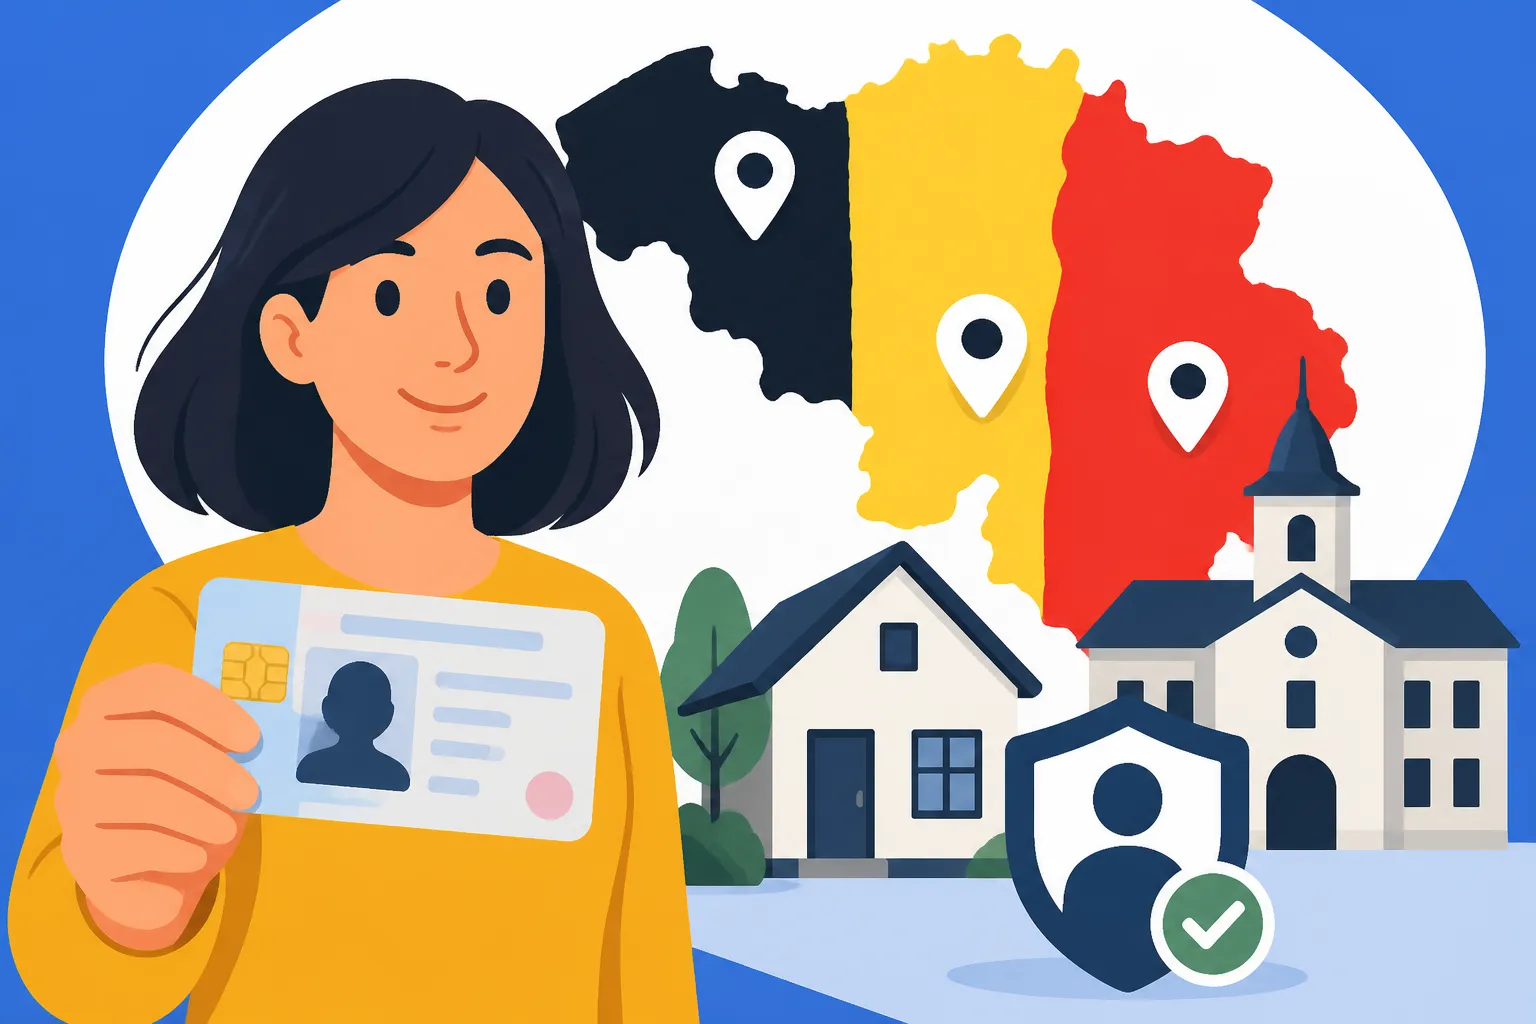
Finally, after the flurry of paper annexes and police visits, comes the moment you've been waiting for: your Belgian electronic identity card (eID). This small plastic card is more than just a piece of ID; it's your key to navigating almost every aspect of life in Belgium, from banking to accessing online government services.
The eID: More Than Just a Card
Your eID is a highly secure document that serves multiple functions:
- Proof of Identity: It's your official identification document in Belgium, used everywhere from opening bank accounts to proving your age.
- Residence Permit: For non-EU citizens, the eID card itself serves as your residence permit, indicating your legal status and the duration of your stay. EU citizens receive an eID with "EU Citizen" status.
- Electronic Signature: The chip embedded in the card allows you to electronically sign documents with legal validity, which is incredibly useful for administrative procedures.
- Access to Online Services: This is where the eID truly shines. Paired with a card reader and your PIN, it grants you secure access to a vast array of government online platforms, such as MyMinfin (for taxes) and MyHealth.belgium.be (for healthcare records).
The process of obtaining it typically involves a final visit to the commune for fingerprinting and photo verification, followed by a waiting period for the card to be manufactured and for your PIN/PUK codes to be sent via post (often in separate envelopes for security). Ensure your mailbox is secure! You can learn more about the different types of cards and their uses in our article, The Belgian eID Card Types: A Card, B Card, F Card, and Others.
Setting Up Itsme and Using Your eID
Once you have your eID and the all-important PIN and PUK codes, the next crucial step is to set up Itsme. Itsme is a secure digital identity app that simplifies online interactions in Belgium significantly. It allows you to:
- Log In: Access various Belgian government websites (like MyMinfin for taxes, MyPension, and your health insurance portal), as well as private banking apps and other services.
- Confirm Actions: Authorize bank transfers, sign documents, and confirm online purchases securely.
To set up Itsme using your eID, you’ll need an eID card reader (available at electronics stores, some supermarkets, or your bank) and the Itsme app on your smartphone. The process generally involves:
- Downloading the Itsme app.
- Using your eID card reader to link your eID to the app, entering your PIN.
- Creating your personal Itsme code (a 5-digit code) that you’ll use for future logins.
Itsme quickly becomes indispensable for everyday life in Belgium, cutting down on paperwork and making administrative tasks much faster. I genuinely don't know how I'd manage without it now. For a step-by-step guide to getting it configured, our article on Itsme Authentication: How to Set Up Belgium's Vital Digital ID is a must-read. If you encounter issues, remember that the commune or your bank can often offer guidance.
Navigating Renewals and Changes of Address
Your eID card isn't a "set it and forget it" item. It has an expiry date, and your address is tied to it. Keeping these up to date is just as important as the initial registration.
Renewing Your Residence Permit (A, B, F Cards)
Depending on your initial status, you'll receive a specific type of eID card (e.g., an "A Card" for a temporary stay, "B Card" for a permanent stay, "F Card" for family reunification with an EU citizen). Each has a validity period, and you are responsible for initiating the renewal process before it expires.
Typically, you should apply for renewal about 2-3 months before your current eID card expires. The process usually involves:
- Booking an appointment at your commune's foreigner's service.
- Providing updated documents such as a new employment contract, proof of sufficient resources, or continued health insurance coverage. If you’ve been here a while and still need to translate documents, remember RushTranslate can assist with certified translations.
- Paying a fee for the new card.
- Fingerprinting and new photos might be required.
The waiting period for a renewed card can sometimes be long, so starting early is crucial to avoid a lapse in your legal residence status. If your card expires while your renewal is in process, the commune will often issue a new Annex 15 or Annex 49 as temporary proof of your continued legal stay, allowing you to continue residing and, usually, working in Belgium. Our guide Renewing Your eID: How Early Should You Apply Before Expiry gives more specific advice on timings and required documents.
Updating Your Address: Don't Forget the Commune
Moving apartments or houses within Belgium requires you to inform your commune of your new address. This isn't just a formality; it's a legal obligation. You must report your change of address to the commune of your new residence within eight working days of moving.
The process typically involves:
- Reporting to the new commune: You’ll visit the population service (dienst Bevolking or service Population) of your new commune with your eID card and proof of your new address (rental contract).
- New police check: Just like with your initial registration, a contrôle de quartier will usually follow to verify your new address.
- eID update: Once your address is confirmed, you'll need to go back to the commune one last time to have your eID card electronically updated with your new address. This usually involves inserting your card into a reader and entering your PIN.
Failing to update your address can lead to administrative penalties, difficulties with official correspondence (as important documents will go to your old address), and issues with your legal status. It’s a seemingly small step that can have significant consequences if overlooked. For more information on this, check out Address Changes Changement d'Adresse: Updating the Commune When Moving.
Common Pitfalls and Troubleshooting Tips
The Belgian administrative system, while robust, can present a few challenges for expats. Anticipating these and knowing how to navigate them can save you a lot of stress and time.
Language Barriers and Local Support
Belgium is a multilingual country, with Dutch spoken in Flanders, French in Wallonia, and both in Brussels, alongside a small German-speaking community. While many officials, especially in Brussels, might speak English, you can't always count on it, particularly in smaller towns or specific commune departments. This can make communication challenging when dealing with complex immigration matters.
- Bring a friend: If you have a friend who speaks the local language, ask them to accompany you to appointments.
- Use translation services: For official documents, legal proceedings, or detailed explanations, hiring a sworn translator is often necessary. Services like RushTranslate specialize in this, ensuring your documents are legally recognized. For critical appointments where you anticipate language difficulties, sometimes the commune or an expat organization can point you towards interpreter services.
- Expat groups and forums: Online expat communities are invaluable resources for asking questions and getting advice from others who have faced similar challenges. There are many active Facebook groups and forums specifically for expats in various Belgian cities.
- Expat Welcome Desks: Some larger cities, particularly Brussels, have Expat Welcome Desks that provide information and assistance in English. They can be a great first point of contact for general inquiries.
While direct medical translation services might be a separate topic, the principle of needing qualified translation assistance for crucial conversations with officials remains. You might find our article on Hiring a Sworn Translator for Non-European Documents in Belgium particularly useful.
Dealing with Delays and Bureaucratic Hiccups
Bureaucracy isn't always efficient, and delays can be a common feature of the Belgian residence registration process. Waiting for police checks, document processing, or eID card manufacturing can test anyone’s patience.
- Keep meticulous records: Document every interaction. Note down dates, times, names of officials, and reference numbers. Keep copies of everything you submit and every document you receive. This paper trail is invaluable if you need to follow up or challenge a decision.
- Follow up politely but persistently: If you haven't heard back within the expected timeframe, don't hesitate to call or email the commune. Be polite but firm in your requests for updates. Sometimes, a gentle nudge is all that's needed.
- Understand the process: The more you understand each step (as outlined in this guide), the better equipped you'll be to identify where delays might be occurring and what steps to take next.
- Seek legal advice if necessary: If you encounter significant, unexplained delays, or if your application is rejected without clear justification, it might be time to consult an immigration lawyer. They can help you understand your rights and the proper channels for appeal.
A hypothetical scenario: I once had a friend who was waiting for their eID, and their Annex 15 was about to expire. They needed to travel for work, which wasn't possible with just the Annex. They had to spend weeks chasing the commune, proving their urgency, and eventually secured a special temporary travel document. These situations highlight the importance of proactive follow-up and knowing your temporary document limitations.
Disclaimer
The information provided in this guide is intended for general informational purposes only and does not constitute legal advice. While we strive to ensure accuracy, immigration laws and administrative procedures in Belgium can change frequently. Always consult official government websites, the relevant Belgian commune, or a qualified immigration lawyer for the most up-to-date and personalized advice regarding your specific situation.